In this post, I’ll talk a little bit about how I soundproofed my studio space, including products I used, techniques employed, and maybe even a little science!
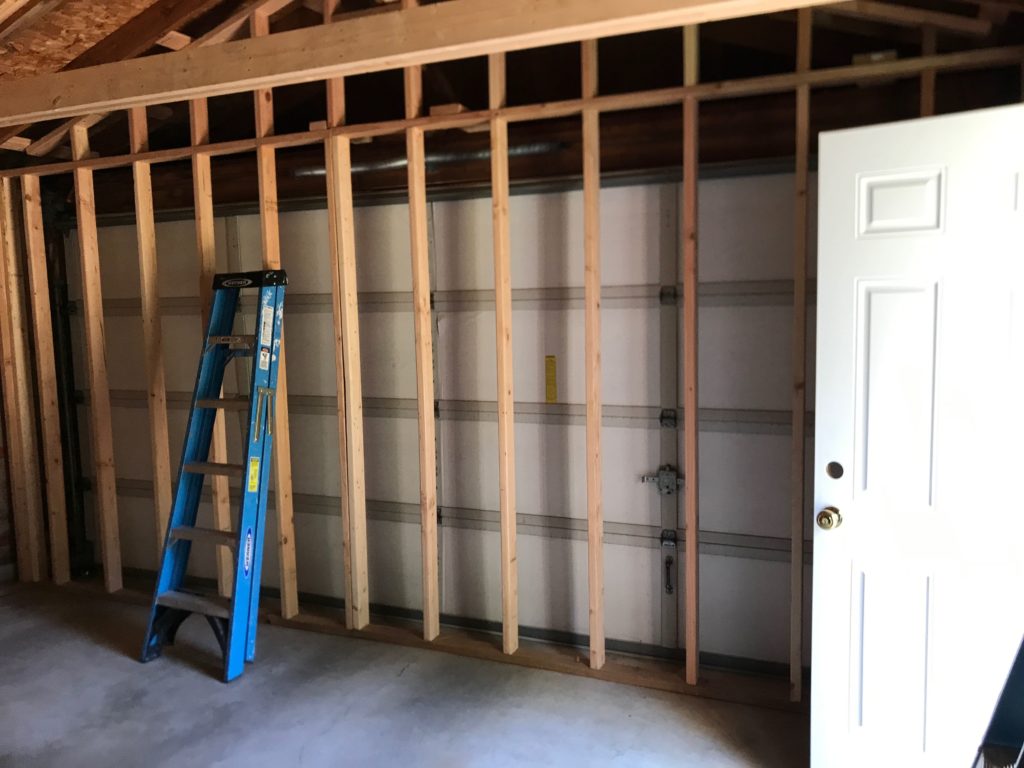
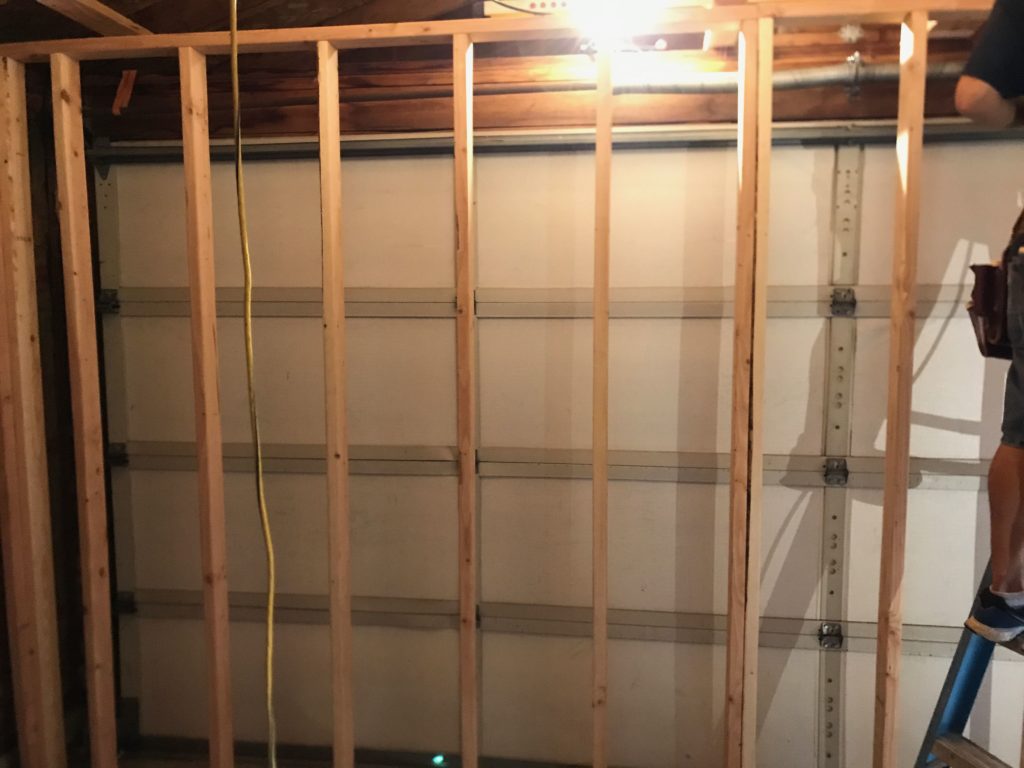
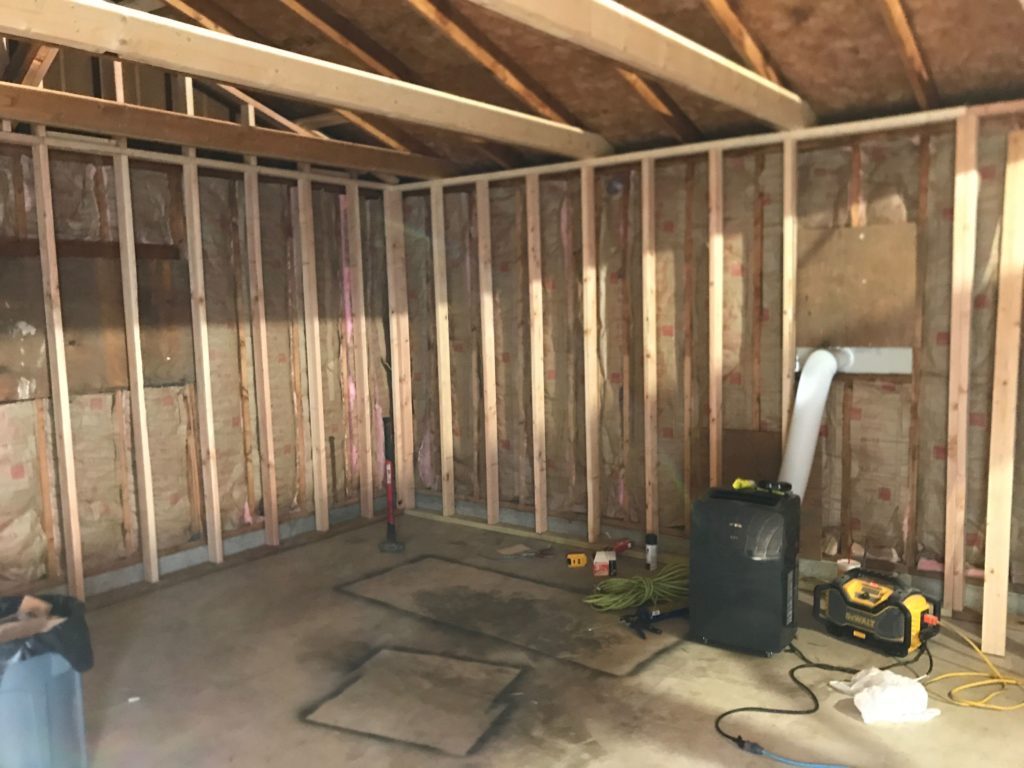
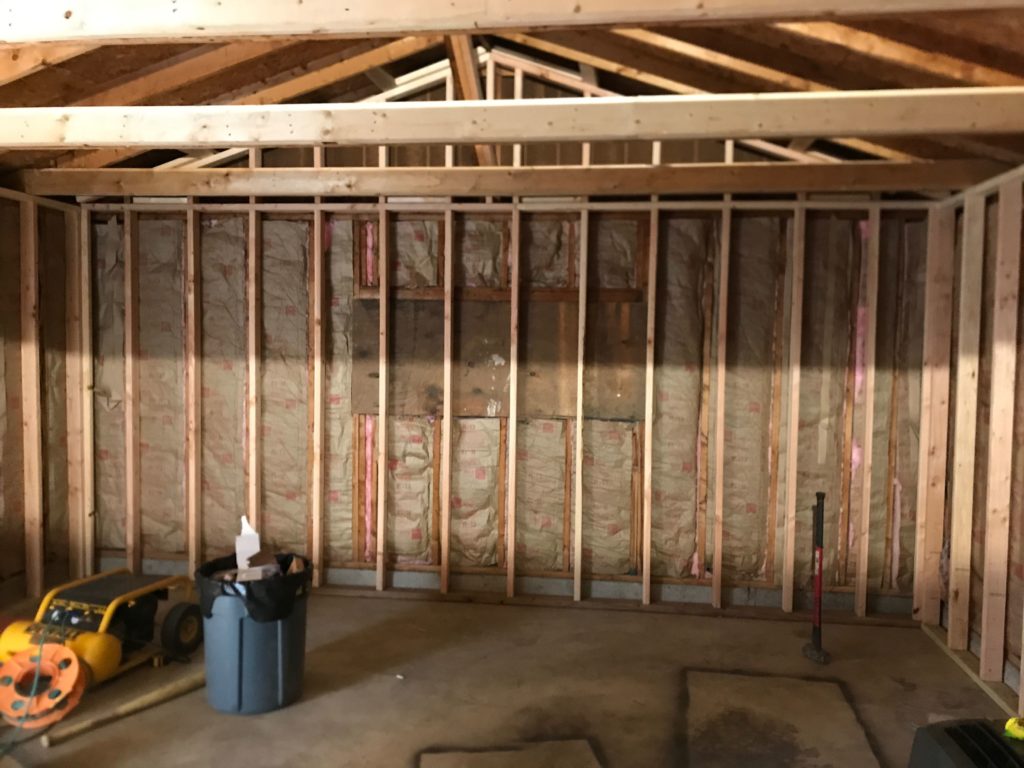
Fist of all, “soundproofing” is a bit of a misnomer here. Since we weren’t building my new studio in an underground concrete bunker and I didn’t want to waste a bunch of the floor space to build a room within a room, my goal was to simply reduce as much of the sound escaping from (and coming into) the studio as possible. In order to do this, we needed to put a certain amount of dead air and insulation between the inside of the studio and the outside world.
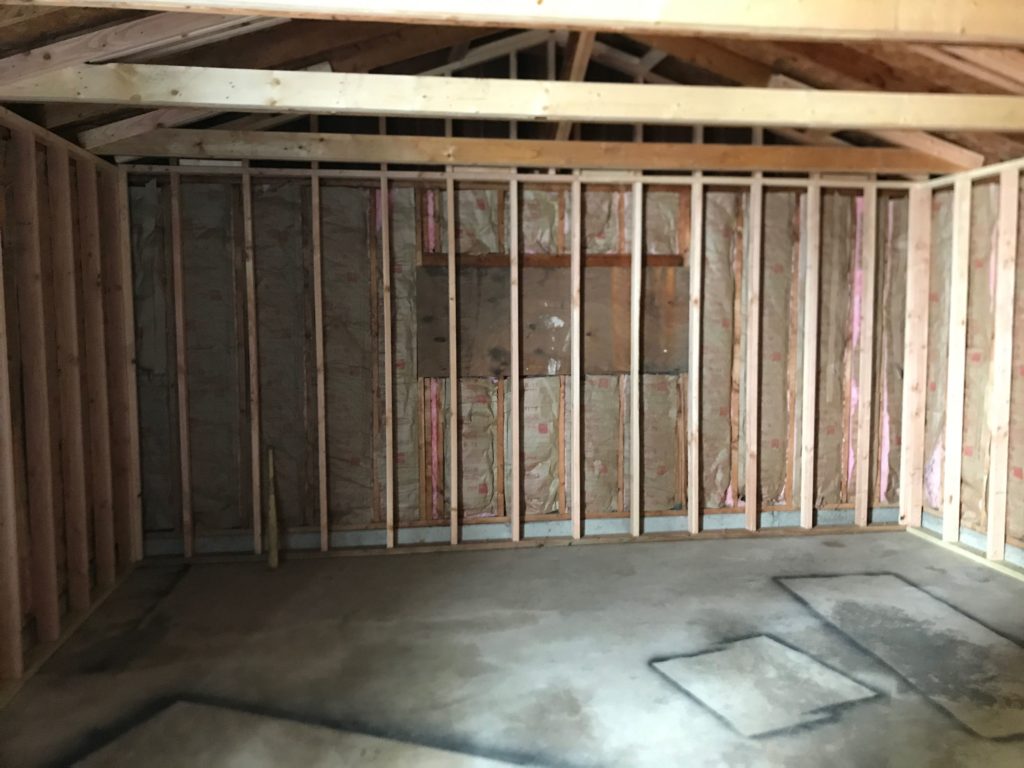
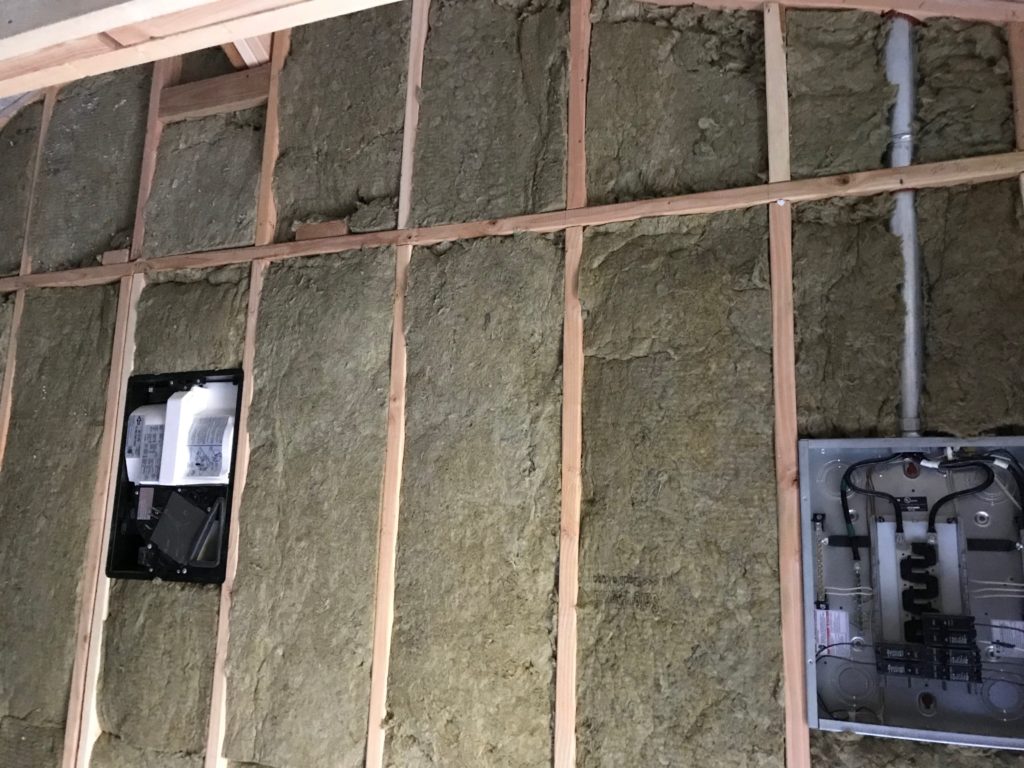
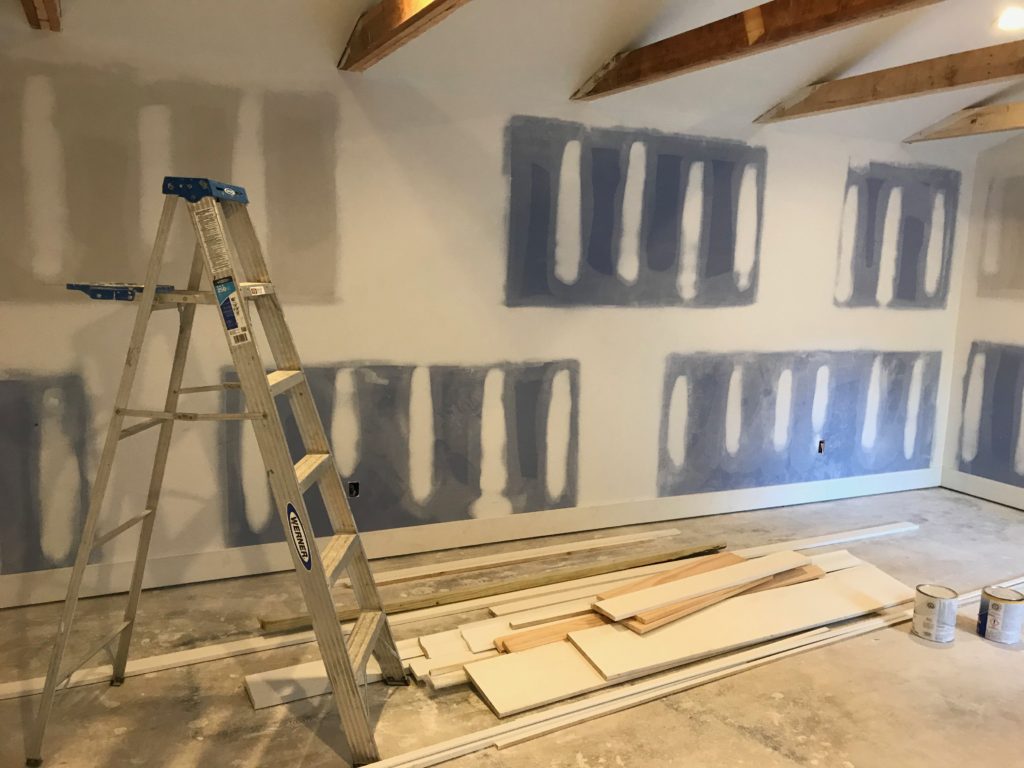
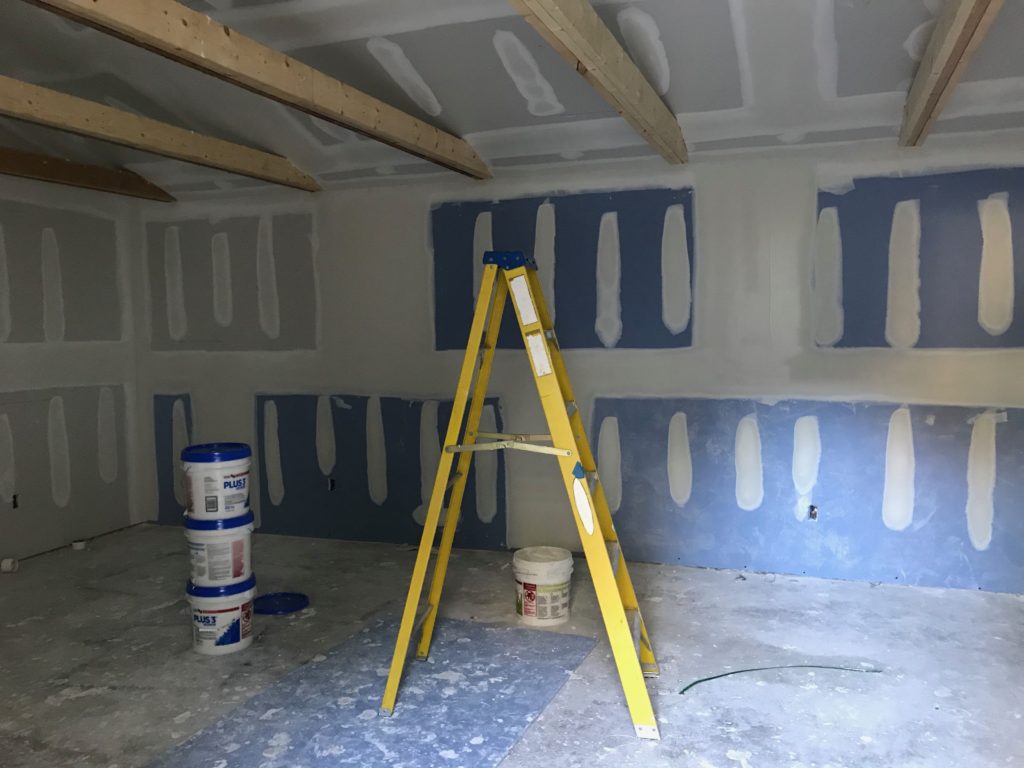
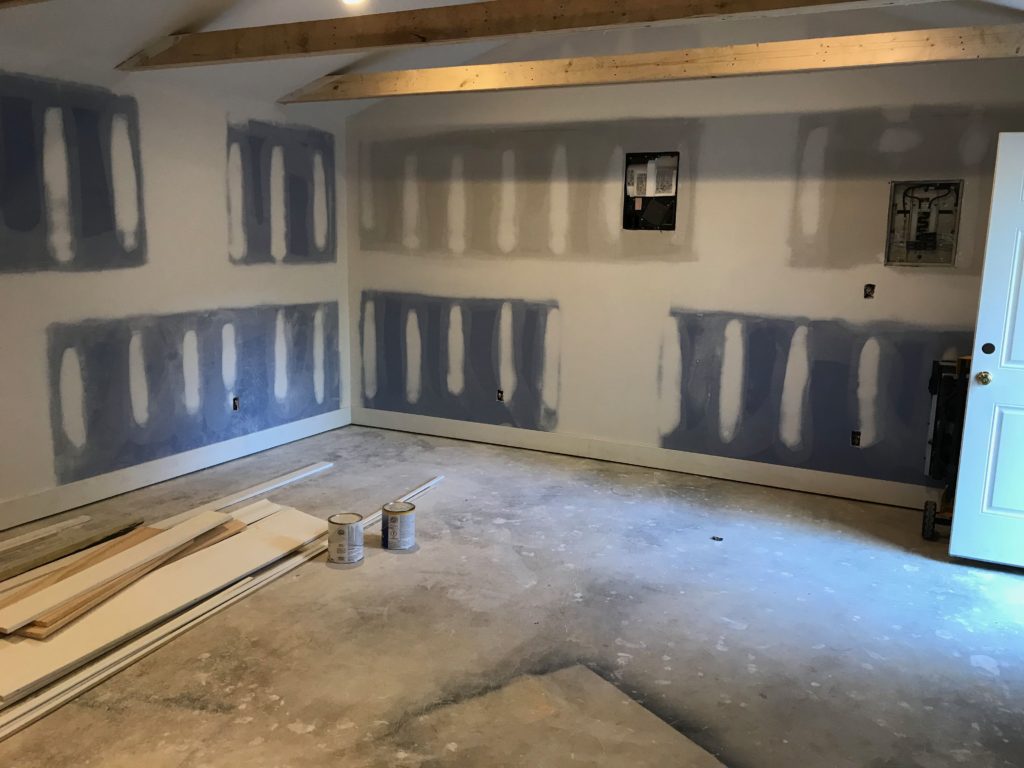
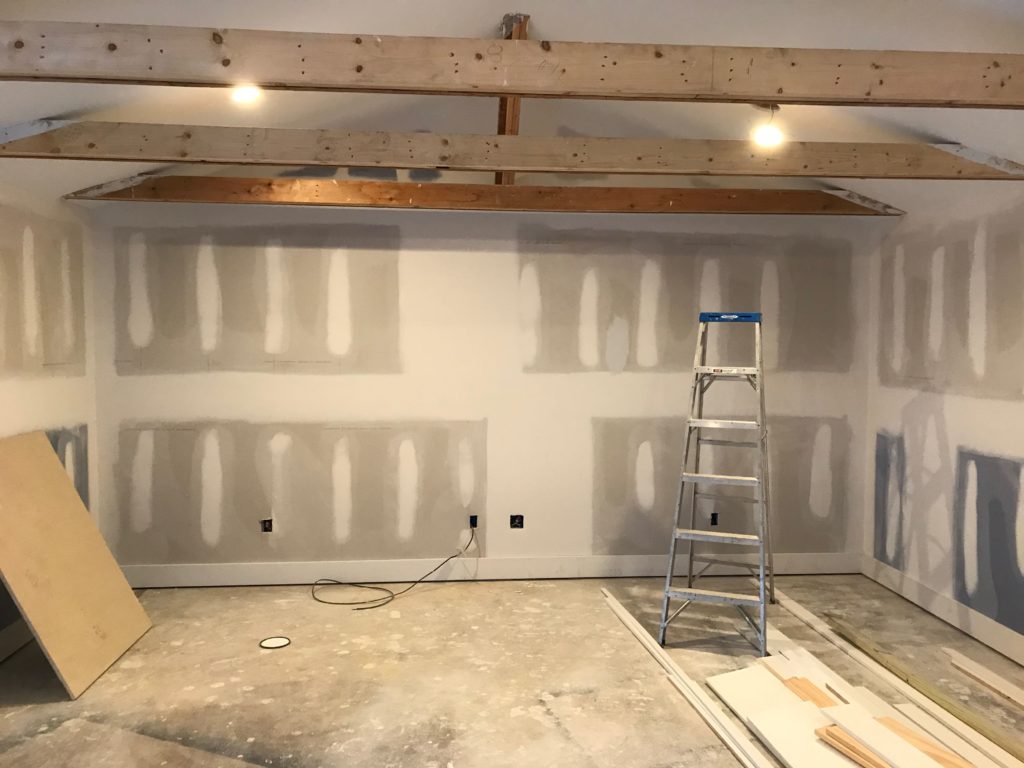
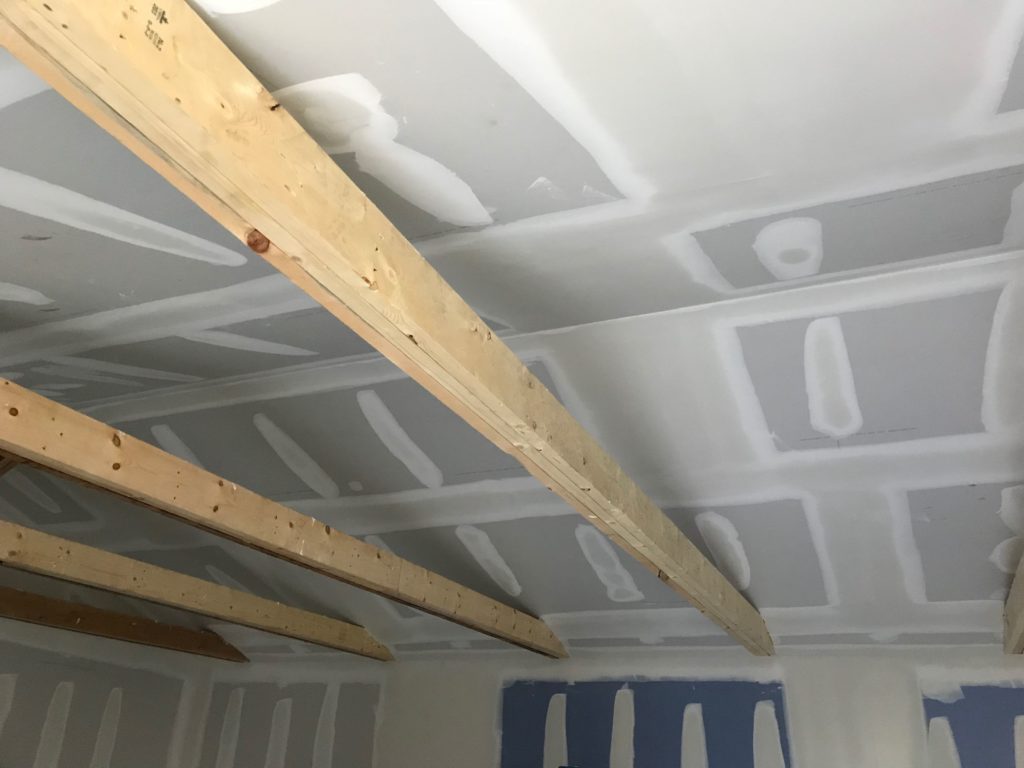
Once the room was framed out, we opted for a dual layer of insulation. This would consist of standard R-13 for the first layer (closest to the outside) followed by an additional layer of Rockwool Safe’n’Sound. In the ceiling, we’d be packing in cellulose as I was told that it is much easier to work with for that sort of application.
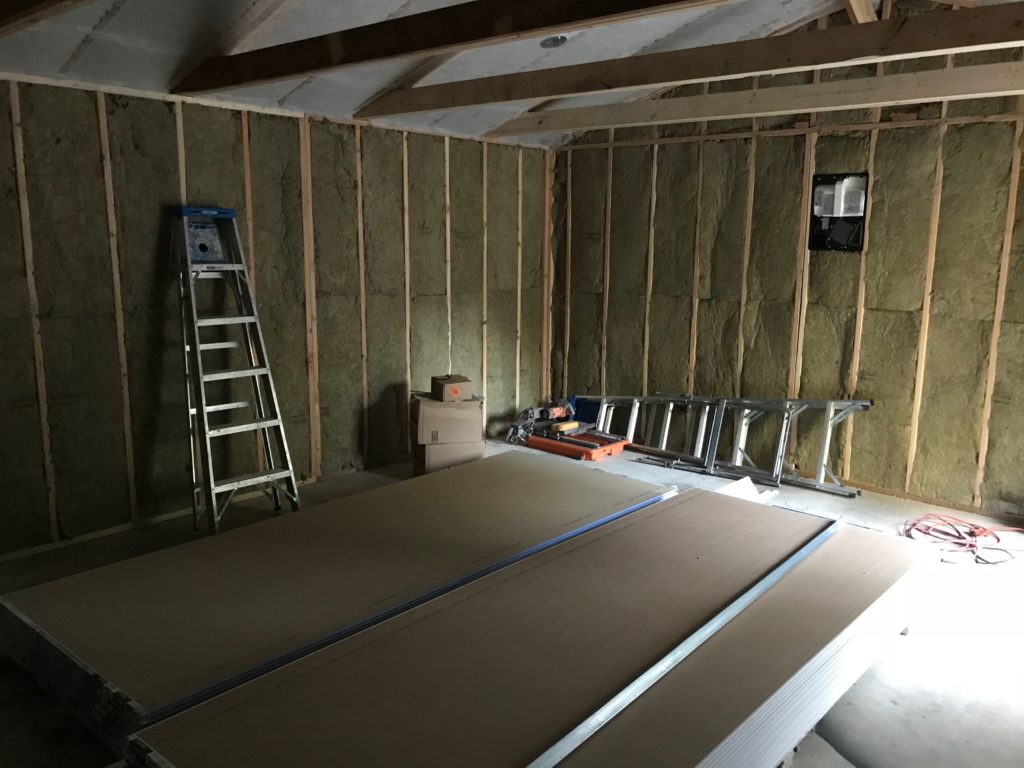
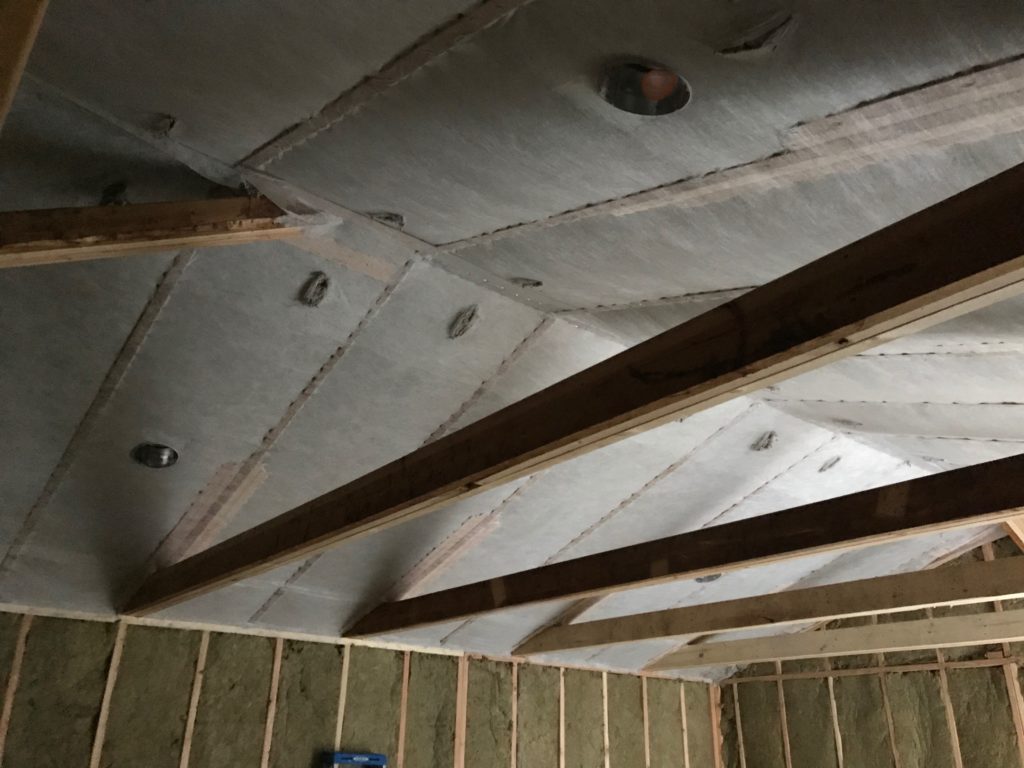
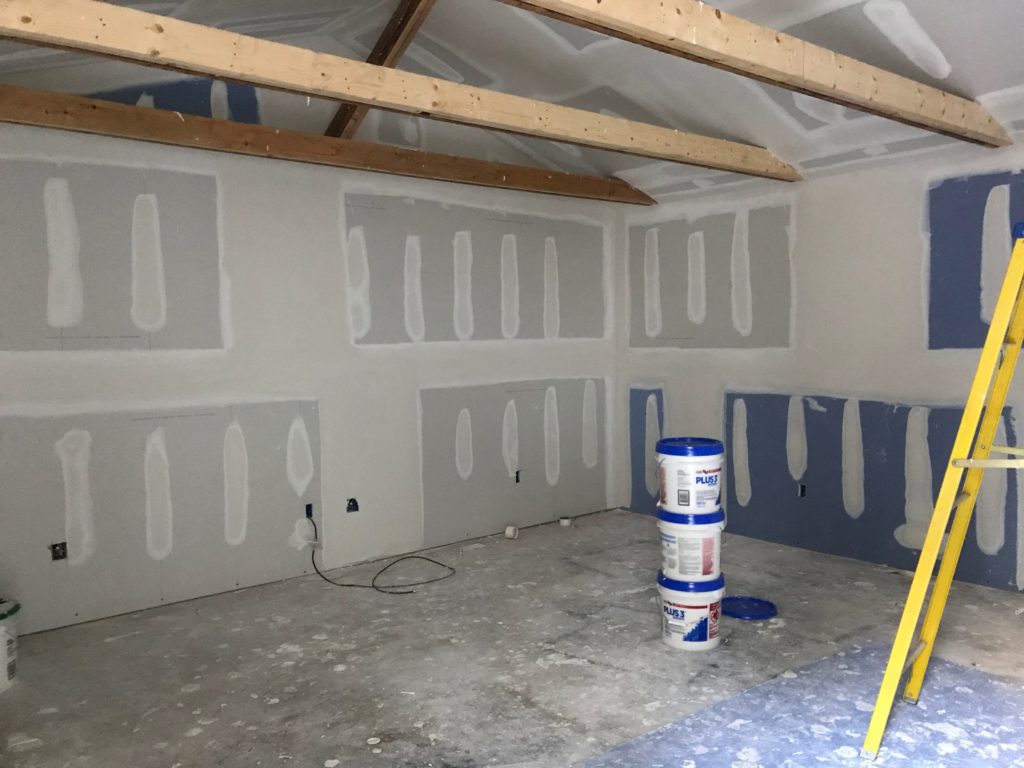
On top of this dual layer of insulation would be two layers of drywall. In between these would be a nice thick slathering of Green Glue. What is this amazing stuff, you ask? Basically, it acts as a noise dampening membrane by converting sound energy into a minute amount of heat. Science! In the end, we’d slather gallons of this stuff in between the layers of drywall, both walls and ceiling.
As the structure had no windows, one of the biggest issues we had to deal with was fresh air. I didn’t want to suffocate in there, so we had to have some sort of air cycling system. My biggest concern (apart from dying of asphyxiation) was noise pollution, both from the unit itself and that which would be transmitted from inside the studio through the vent and directly to the outside. No bueno.
Some digging around on the internet brought me to what I felt was the best solution – a “dead vent”. This would allow air to cycle in and out of the space with minimal sound bleed from either inside out or outside in. For more on this, check out this great description and set of illustrations by the Soundproofing Company. This vent was capped off by one of the quietest air exchangers we could find, made by Panasonic. While not totally silent, it’s close enough for me, especially considering it’s across the room and directly behind my listening position. There are also two operating speeds, which helps manage the issue somewhat.
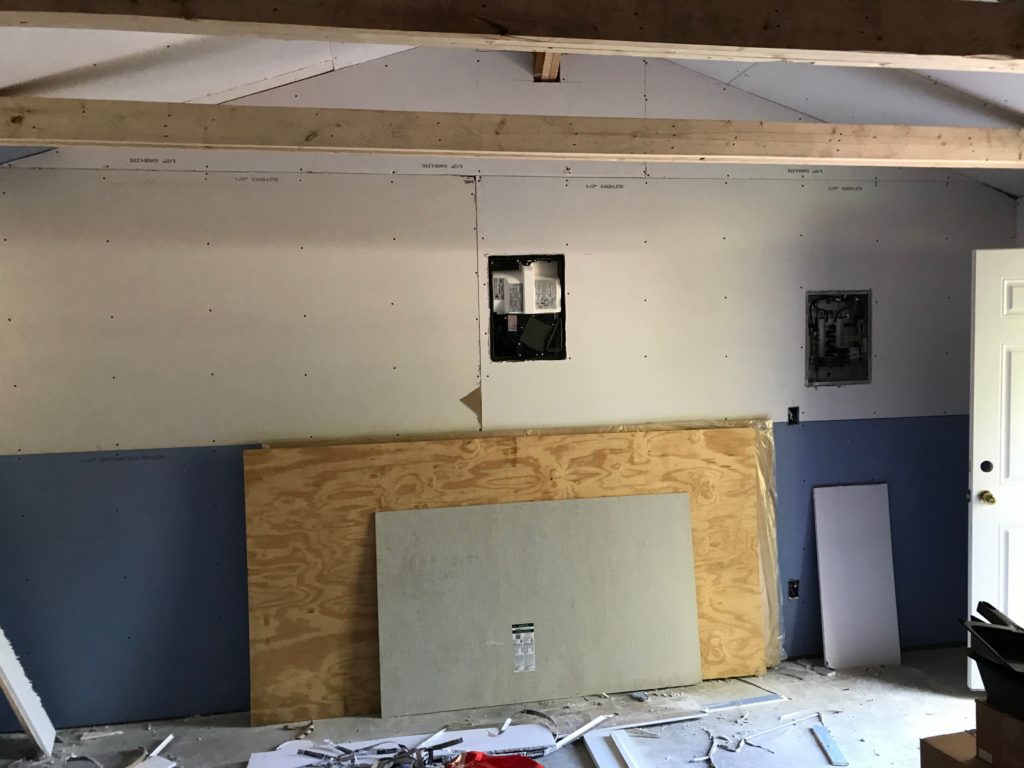
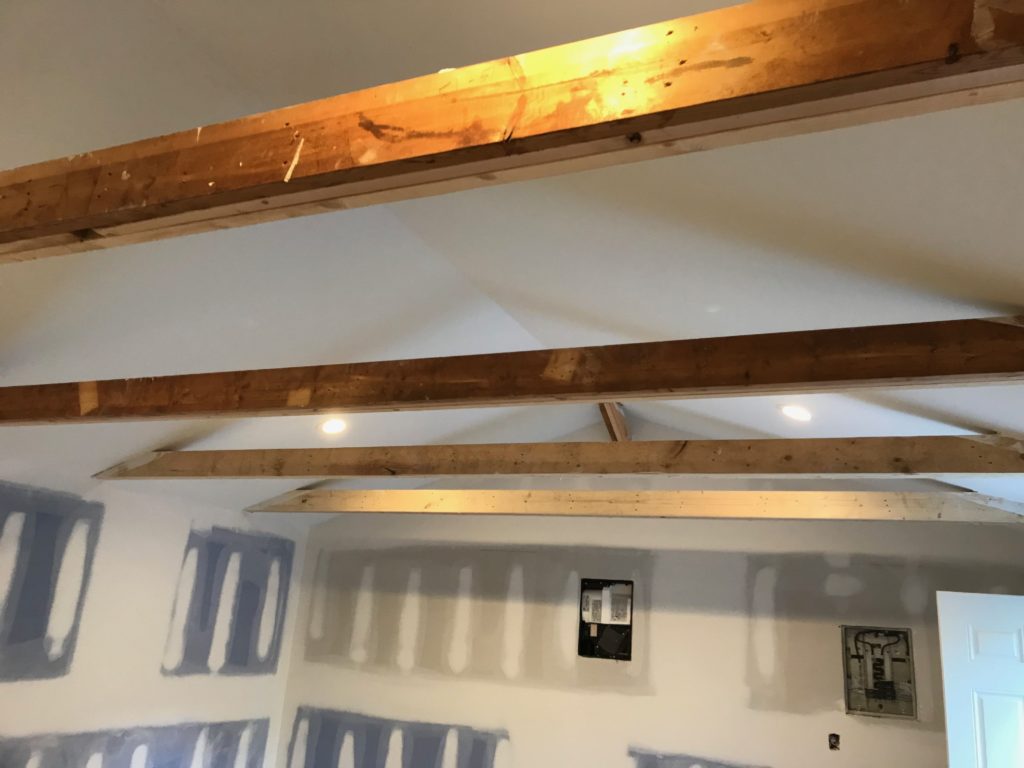
After going to all this trouble to seal the room up tighter than a drum, the last thing we wanted to do was cut holes in the walls, but alas. The studio needed things like electrical outlets, a breaker box, and lights. We managed this as best we could by coating the backs of all of these things with acoustical putty pads. Overkill? Maybe, but you never can be too careful.
The result of all this hullabaloo was a pretty damn quiet space with very minimal noise pollution for the neighbors. I’m able to happily pound out a bit of Painkiller without getting a visit from the cops. But what about that door? Isn’t that a problem? Shouldn’t you have invested in something a bit better than a regular old door? Short answer? Yes. I’ll discuss what I did for that in a later post.
Recent Comments